Hi All X2 Users
Happy to announce the V3 release for Mede8er X2 Series. Our engineers have ported many of the new X3 features so that our X2 users can also benefit and enjoy them. This has been real hard work on all sides and many months in the making. As always this we thank Maasbommel and Jer1956 for their hard work on this and to the X2 Beta testers. Also a big thanks to Reecher.

NOTE: All Hard drives must have a unique name for correct functionality with V3 firmware. Connect the Hard Drive to your Windows PC and in My Computer right click the Drive icon and you can give the Hard Drive a name. Remember that each drive must have a unique name example Hard Drive1, Hard Drive2 etc etc Those who have not used 2.1.1 must do this. The code only adds Volume Names to virgin drives when they are formatted.
Win7,8,8.1 users - Safe Removal is incompatible with the linux NTFS. Use Utility to Eject the Mede8er (or shared external USB drive) - USB Disk Ejector http://quickandeasysoftware.net/software/usb-disk-ejector
Vanishing files and un-mountable partitions can occur as a result of using Safe Removal.Download X2 Series - V3.0.4 - 22May2014 http://www.mede8er.org/Firmware_Final/MED500X2/X2_Series_V3.0.4_May22.zipChangelog V3.0.4 - 22May 20141. Fixed Shoutcast Internet Radio
Changelog V3.0.3 - 13May 2014
1. Fixed - Scraping Agreement Page remaining after accepting the terms when doing a EDIT first time after install
Changelog V3.0.3 BETA - 12May 2014
1. Function: add Auto Standby for ErP, and default value is set to 2 hours.
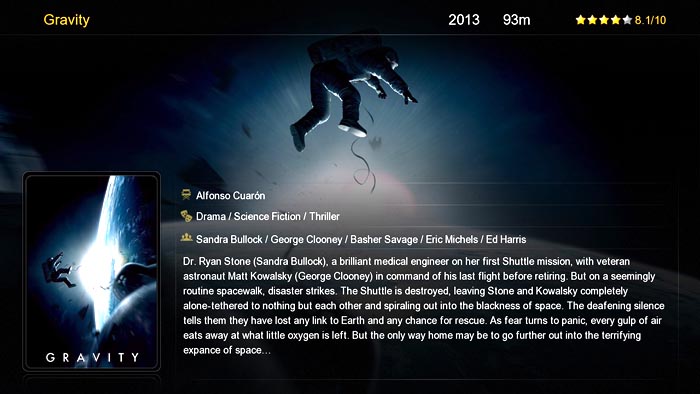
2. Function: add 'Scrape Layout', - updated to latest X3D layout with A and B options.
3. Dev: string table: update 3 string for 'Auto Standby', and add a new string 'Scrape Layout'.
4. Dev: jukebox+: wont ever remove folder when reset jukebox+ from Setup Menu.
5. Dev: jukebox+: After new firmware is installed user can set a older jukeBox+ folder to aggregate JukeBox
6. Dev: jukebox+: will sync image and text content to source folder when user EDITS a movie in jukebox+.
7. Dev: tmdb: Movie Scraper - If Scrape Language is not set to English and if some text field content is missing then will use English rather than leaving blank.
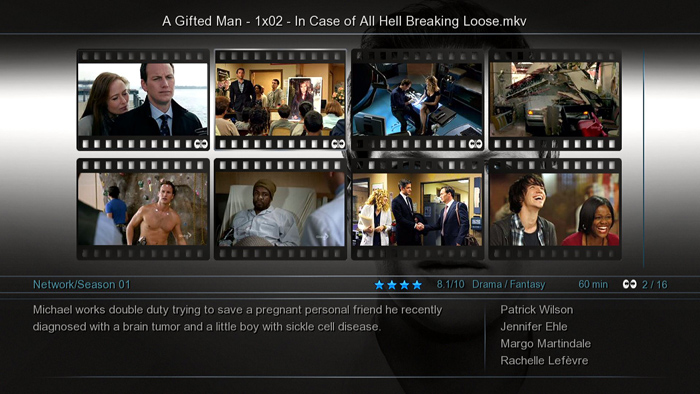
8. Updated TV Series images to latest as used in X3D
9. Dev. allow about.jpg EDIT directly after firmware update - old way you had to do a 'Scan' first in order to see the Agreement Page.
NOTE: Old X2 skins are not compatible with V3.0.2 and up. Coloured Thumbnails are compatible.
Just use them on their own or add them to ThatTheme! by Lock for the X2
We have made a version of the ThatTheme! by Lock for the X2 (This will only work on v3.0.2 and up)
English Download:
http://www.mede8er.org/skin_pack_downloads/X2_ThatTheme!_Skin_V3.0.2_and_up_only.zipDutch Download:
http://www.mede8er.org/skin_pack_downloads/X2_ThatTheme!_Skin_V3.0.2_NL_and_up_only.zip Old X2 Skins updated to work on V3.0.2
 ChicPad Skin:
http://www.mede8er.org/skin_pack_downloads/X2_Series_ChicPad_skin_V3.0.2_and_up_only.zipGolden Central Skin:
http://www.mede8er.org/skin_pack_downloads/X2_Series_Golden_Central_skin_V3.0.2_and_up_only.zipMovie Scraper Skin 'A'

New TV Series Skin
 Online Movie Scraper Guidehttp://www.mede8er.com/mede8er_X3_movie_scraper_user_guide_V3.htmlOnline TV Series Scraper Guidehttp://www.mede8er.com/mede8er_X3_TV_Series_scraper_user_guide_V3.htmlOnline Jukebox+ Guide http://www.mede8er.com/mede8er_JukeBox_Plus_user_guide_V0.htmlX2-V3 Specific Functions User Manualshttp://www.mede8er.org/artwork/temp/2013/V3_X2_31Oct2013_New_Features_v0.pdfJukeBox Plus
JukeBox Plus is new functionality within the X2 Firmware that will allow you to Aggregate your Movie JukeBoxes across different sources such as internal Hard Drive, USB Drives and Network shares both Samba and NFS. There is no limitation to the amount of Movie JukeBox's that can be added to JukeBox Plus and just remember that the source shares must have the required Mede8er folder structure with the correct images and xml files.
JukeBox Plus is actually a dummy JukeBox and can be deleted at any stage without any effect on your source files. Do not set the favourite link to an actual jukebox as the jukebox+. Using jukebox+ Reset may then delete your media!
If you find your self in this position, remove/disconnect the host store for the jukebox+, and then perform a Reset Jukebox+. That might require you shutdown first and remove drives, lan cables etc. After doing the reset, shutdown again, are reconnect the removed storage. Favourites will now show "all" the links including a working jukebox+, but the Menu now has the Aggregate Jukebox option to create the dummy you should have in the first place. Until you do that, Add to Jukebox+ won't appear again. You can then turn the wrongly used folder back to a media store.
JukeBox Plus Instructions1. Make sure your Internal Drive and USB drives have a Drive LABEL (Drive Name)
2. Make a folder on any source and name it what you like. (Note: The source needs to be write enabled)
3. We have added a facility in the GUI to add a folder so you do not require a PC to do this - Navigate to a Drive or Network Share in the Mede8er Media Library and press the 'Edit' button on the remote and you will see a new function named 'New Folder' - Use this this make your JukeBox Plus folder
4. Navigate to the new folder you just made ie JukeBox Plus or whatever you called it and press the 'Menu' button and select 'Add to Favourites'
5. Go to Favourites and you will see the new JukeBox Plus folder you have just made - Press the Menu Button and select option 'Aggregate Jukebox'
6. The folder will now be assigned as the Aggregated JukeBox and a new thumbnail will be displayed.
7. Now you are ready to add Mede8er structure shares to the JukeBox Plus folder
8. A standard jukebox with Favourite link can be added to JukeBox Plus - Press the 'Menu' button and select option ' Add to Jukebox'
Remember to turn on 'JukeBox View' in Setup Menu.
9. You can also add to JukeBox Plus directly from from the Media Library-- In the Media Library - Navigate to the folder you want to add and focus on it then press the 'Menu' button and select option 'Add to JukeBox' and the X2 will add this folder and Auto Rescan the JukeBox Plus folder. Repeat this process to add all the different folders you require to add to the Jukebox Plus.
11. Launch the JukeBox Plus icon and all your movies across the different drives and Network shares will be displayed in one consolidated Movie JukeBox.
12. If content changes on a drive or share then you need to re 'add to JukeBox+' and the new content will be added.
13. On large collections the first scan can take some time ie Samba to HDD +- 230 movies/min and NFS to HDD +-260 movies/min. Rescanning when adding content will be a quick as only the new content needs to be added.
14. If you update Firmware then the JukeBox+ folder will have to be removed from Favourites and re-added.
WOL (Wake On LAN) Setup Menu ---Misc --- WOLBrowse the device/'s first and then they should appear in the WOL list.
Select the devices you want X2 to wake up on boot - WOL on X2 boot-up is not always reliable due to the network not always being ready so X2 will also send the Magic Packets when you enter the Favourite Screen. You can also do a manual WOL in Setup Menu - focus on Device and press 'F1 /Red' button.
Emergency ProcedureUse a USB Stick that is formatted fat32 in Windows PC. If you have any difficulty we suggest you format the USB stick with the HP Utility -
https://docs.google.com/a/mede8er.com/file/d/0B_SDrpPD4AxPaEF0NUVRcU5WSmc/editDownload the latest Mede8er Firmware from
www.mede8erforum.com. UnZIP or UnRAR or join with HJ Split and will find one file named install.img. Copy this file to the root directory of a Flash Drive. Plug the flash drive into the Mede8er. Unplug the power to the X2. Plug the power jack back in and then hold the ON/OFF button on the Mede8er (not the remote) down for 15sec and then release. After the firmware has been checked (+-5-10sec) it will start to update. You will see the update progress on your TV. Do not remove power during the Firmware Update procedure .
Remove any USB drives and /or Mede2key dongle before performing the upgrade.
Mede8er1